Understanding MiniDV Tapes and Their Significance
What are MiniDV Tapes?
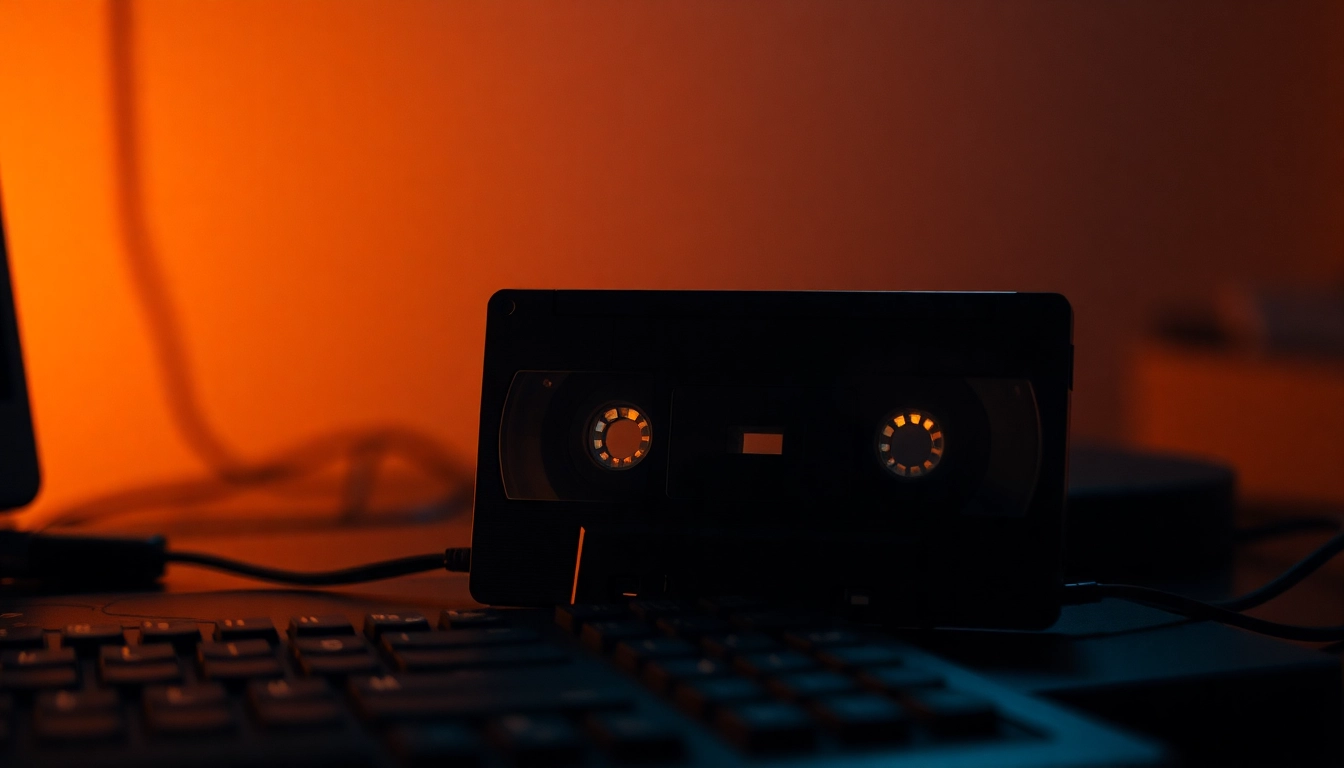
MiniDV tapes, introduced in the late 1990s, revolutionized the way we captured and preserved video content. These small cassettes, measuring just 6.4 mm wide, were designed to store digital video recordings. They became popular for both amateur filmmakers and professionals due to their high-quality video resolution and relatively compact size. MiniDV tapes have the capacity to hold up to 60 minutes of video footage in standard mode, and they do so using a digital encoding method that minimizes data loss during recording and playback.
Despite their technological advancements and ease of use, MiniDV has faced obsolescence with the rise of digital cameras and smartphones that record video directly to storage cards. However, many people still own collections of cherished memories stored on these tapes, which can be painstakingly outdated in our increasingly digital world. Converting MiniDV to digital formats not only preserves these memories but also makes them more accessible for future viewing. If you are wondering how to keep your treasured moments alive in a modern format, consider looking into Minidv to digital conversion options.
The Emotional Value of Preserving Memories
Memories captured on MiniDV tapes are often deeply personal, encompassing pivotal moments such as weddings, birthdays, vacations, and family gatherings. These recordings allow viewers to relive the joy, laughter, and even the bittersweet moments of life. The emotional value of preserving these memories is immeasurable; they serve not just as documentation of time past but as a means to maintain family history and legacy.
As technology evolves, the risk of losing these memories increases if we do not take action to preserve them. MiniDV tapes can degrade over time, suffering from issues such as tape wear and magnetic degradation, which can render them unplayable or significantly diminish the quality of the footage. Thus, converting these tapes to a digital format ensures that these precious recordings are not only preserved but are secure against the ravages of time. In a world that moves rapidly towards digitalization, transitioning to digital formats allows for easier sharing, better quality preservation, and a means to keep these emotional treasures alive for generations to come.
When to Consider Converting MiniDV to Digital
Timing plays a crucial role in the decision to convert MiniDV tapes to digital. While it may seem tempting to procrastinate on this conversion, several signs indicate that it’s time to take action:
- Damaging Conditions: If your MiniDV tapes are stored in improper conditions, such as high humidity or extreme temperatures, they could be deteriorating faster than you realize.
- Playback Issues: If you notice persistent playback issues, including muted sections of video, audio discrepancies, or an overall decline in quality, it’s likely time to convert and preserve what footage you have.
- Obsolescence of Equipment: As MiniDV camcorders also become increasingly difficult to find and maintain, it’s prudent to convert while you still have access to the necessary hardware.
- Sentimental Value: If the recordings contain significant life events that you wish to preserve, don’t wait until it’s too late. Convert now to ensure you retain those moments.
Given these considerations, the importance of converting MiniDV tapes to digital formats cannot be overstated. By taking proactive steps now, you can ensure the longevity and quality of your cherished memories.
Methods for Converting MiniDV to Digital
Using Professional Services for MiniDV Conversion
One of the most straightforward and efficient methods for converting MiniDV to digital is to employ the services of a professional conversion service. These companies are equipped with advanced technology designed specifically for high-quality video transfers. Here’s why you might consider going this route:
- Expertise: Professional services often employ trained technicians with experience in video editing and preservation. This expertise can help ensure that your tapes are handled with care, and any processing is executed to the best standards.
- High Quality: Professionals use high-end equipment that typically results in superior video quality compared to consumer-level solutions.
- Convenience: The process is uncomplicated from the customer’s standpoint. You simply send in your tapes, and they manage the entire conversion process for you.
- Additional Services: Many professional services offer extras such as video enhancement, captioning, and even the option to include your videos onto DVDs or USB drives for easy viewing.
DIY Methods: Equipment and Software Needed
If you prefer a hands-on approach, converting MiniDV to digital can be done through various DIY methods. Here’s what you’ll need:
Equipment Required
1. MiniDV Camcorder or Deck: To read the tapes, you will need a working MiniDV camcorder or a dedicated MiniDV deck.
2. Video Capture Device: This device connects your camcorder to your computer. USB video capture devices are a popular choice.
3. Computer: A computer with enough storage space to handle large video files is essential.
4. Editing Software: Options include free programs like iMovie or Windows Movie Maker, as well as more robust software such as Adobe Premiere Pro or Final Cut Pro.
Steps to Convert
1. Connect your MiniDV camcorder to your computer using the video capture device.
2. Launch your video capture software and select the correct input source.
3. Play the MiniDV tape while recording in your desired format on the software. Adjust settings for resolution and frame rate as needed.
4. Once captured, save the video clips on your computer for editing. You can trim unnecessary footage or enhance the video quality if desired.
This DIY approach can be rewarding but requires patience and a bit of technical skill. If you’re up for the challenge, it allows you to have complete control over the process.
Comparing Cost and Quality of Different Methods
When deciding between professional services and DIY methods, consider both cost and quality:
Professional Services
While professional conversion services might involve a higher upfront cost, they typically result in superior quality. Pricing often varies depending on factors like:
- Length of the video footage
- Quality of final output (e.g., resolution options)
- Additional services (e.g., enhancement, DVD creation)
DIY Methods
DIY methods might initially save money, especially if you already possess some of the required equipment. However, factors such as:
- The quality of video capture devices and software
- Your level of expertise in handling and editing video files
- Time invested in the entire process
Essentially, while DIY methods might be cheaper, they may not always yield the best quality if not executed correctly.
Step-by-Step Guide: How to Convert MiniDV to Digital
Preparing Your Equipment
Before diving into the conversion process, ensure everything is ready to go:
- Check if your MiniDV camcorder or deck is functioning correctly. Test it with a tape that has already been converted or is used less frequently.
- Prepare your video capture device. Install any necessary drivers on your computer to ensure it communicates effectively with the software.
- Gather all cables needed for connections, such as FireWire or USB cables.
Importing Video Files: Software Walkthrough
Once your equipment is set up, it’s time to import your video files:
- Open your video capture software.
- Select the video input source to the MiniDV camcorder or deck.
- Begin playback of the MiniDV tape, and hit the record button on the software simultaneously to start capturing the footage.
- Monitor the video feed to check for quality. Make sure the recording continues until the entire tape has been captured.
- Once done, save the video file in your desired format on your computer.
Saving and Archiving Digital Copies Safely
After conversion, the next step is to ensure that your digital files are saved securely:
- Use Multiple Storage Options: Save the files on an external hard drive, cloud storage, and even DVDs to avoid loss.
- Organize Files: Create a structured filing system that labels each video chronologically or by event for easy retrieval.
- Check File Formats: Save in widely accepted formats like MP4 or MOV to ensure compatibility with various devices and platforms.
Common Challenges in MiniDV Conversion
Troubleshooting Tape Playback Issues
During conversion, you may encounter various playback issues. Here’s how to troubleshoot:
- Dirty or Worn Tapes: Clean the tape heads in the camcorder or deck, and inspect the tapes for physical damage.
- Tracking Problems: Adjust the tracking settings on your camcorder if the picture is shaky or distorted.
- Humidity Effects: If tapes have been exposed to moisture, allow them to dry fully before trying to play them again, as moisture can ruin quality.
Dealing with Quality Loss During Conversion
It’s not uncommon to experience some quality loss when converting analog to digital. To combat this:
- Use High-Quality Equipment: Invest in reputable video capture devices.
- Optimize Your Settings: Choose the highest resolution and bitrate available during conversion to capture more detail.
- Post-Processing: Use video editing software to enhance brightness, contrast, and color saturation to improve overall quality post-capture.
Preserving the Original Look: Editing Tips
Keeping the essence of the original recording is crucial. Here are some editing tips:
- Avoid Over-Editing: Make subtle changes rather than drastic alterations that can change the original feel of the footage.
- Use Filters Sparingly: Filters can enhance, but excessive use can lead to an unnatural look. Stick to adjustments that enhance clarity and quality without altering content.
- Consider Adding Captions: Adding captions can provide context without changing the original video.
Future-proofing Your Digital Files
Best Practices for Digital File Storage
Now that you have successfully converted your MiniDV tapes to digital, safeguarding those files should be your next priority:
- Cloud Backup: Utilize cloud services that offer automated backups to secure your files offsite.
- External Drives: Invest in high-quality external hard drives or NAS (Network Attached Storage) systems for local backups.
- File Naming Conventions: Implement a consistent file-naming strategy that indicates the content clearly for easy retrieval.
Regular Backups: Why They Matter
Regular backups are crucial for maintaining your digital archives. Setting reminders for quarterly or biannual reviews of your storage will help catch any potential data loss before it becomes a significant issue. Ensure your backup systems are functional and up to date, as technology evolves rapidly.
Maintaining Formats for Longevity
As formats continue to change with advances in technology, it is essential to periodically convert files to newer formats that offer better compatibility and efficiency. Regularly assess the relevance of your digital files and consider re-conversion if it begins to strain accessibility. Adopting best practices for handling and storing your digital files will ensure they remain viable for future viewing and sharing.